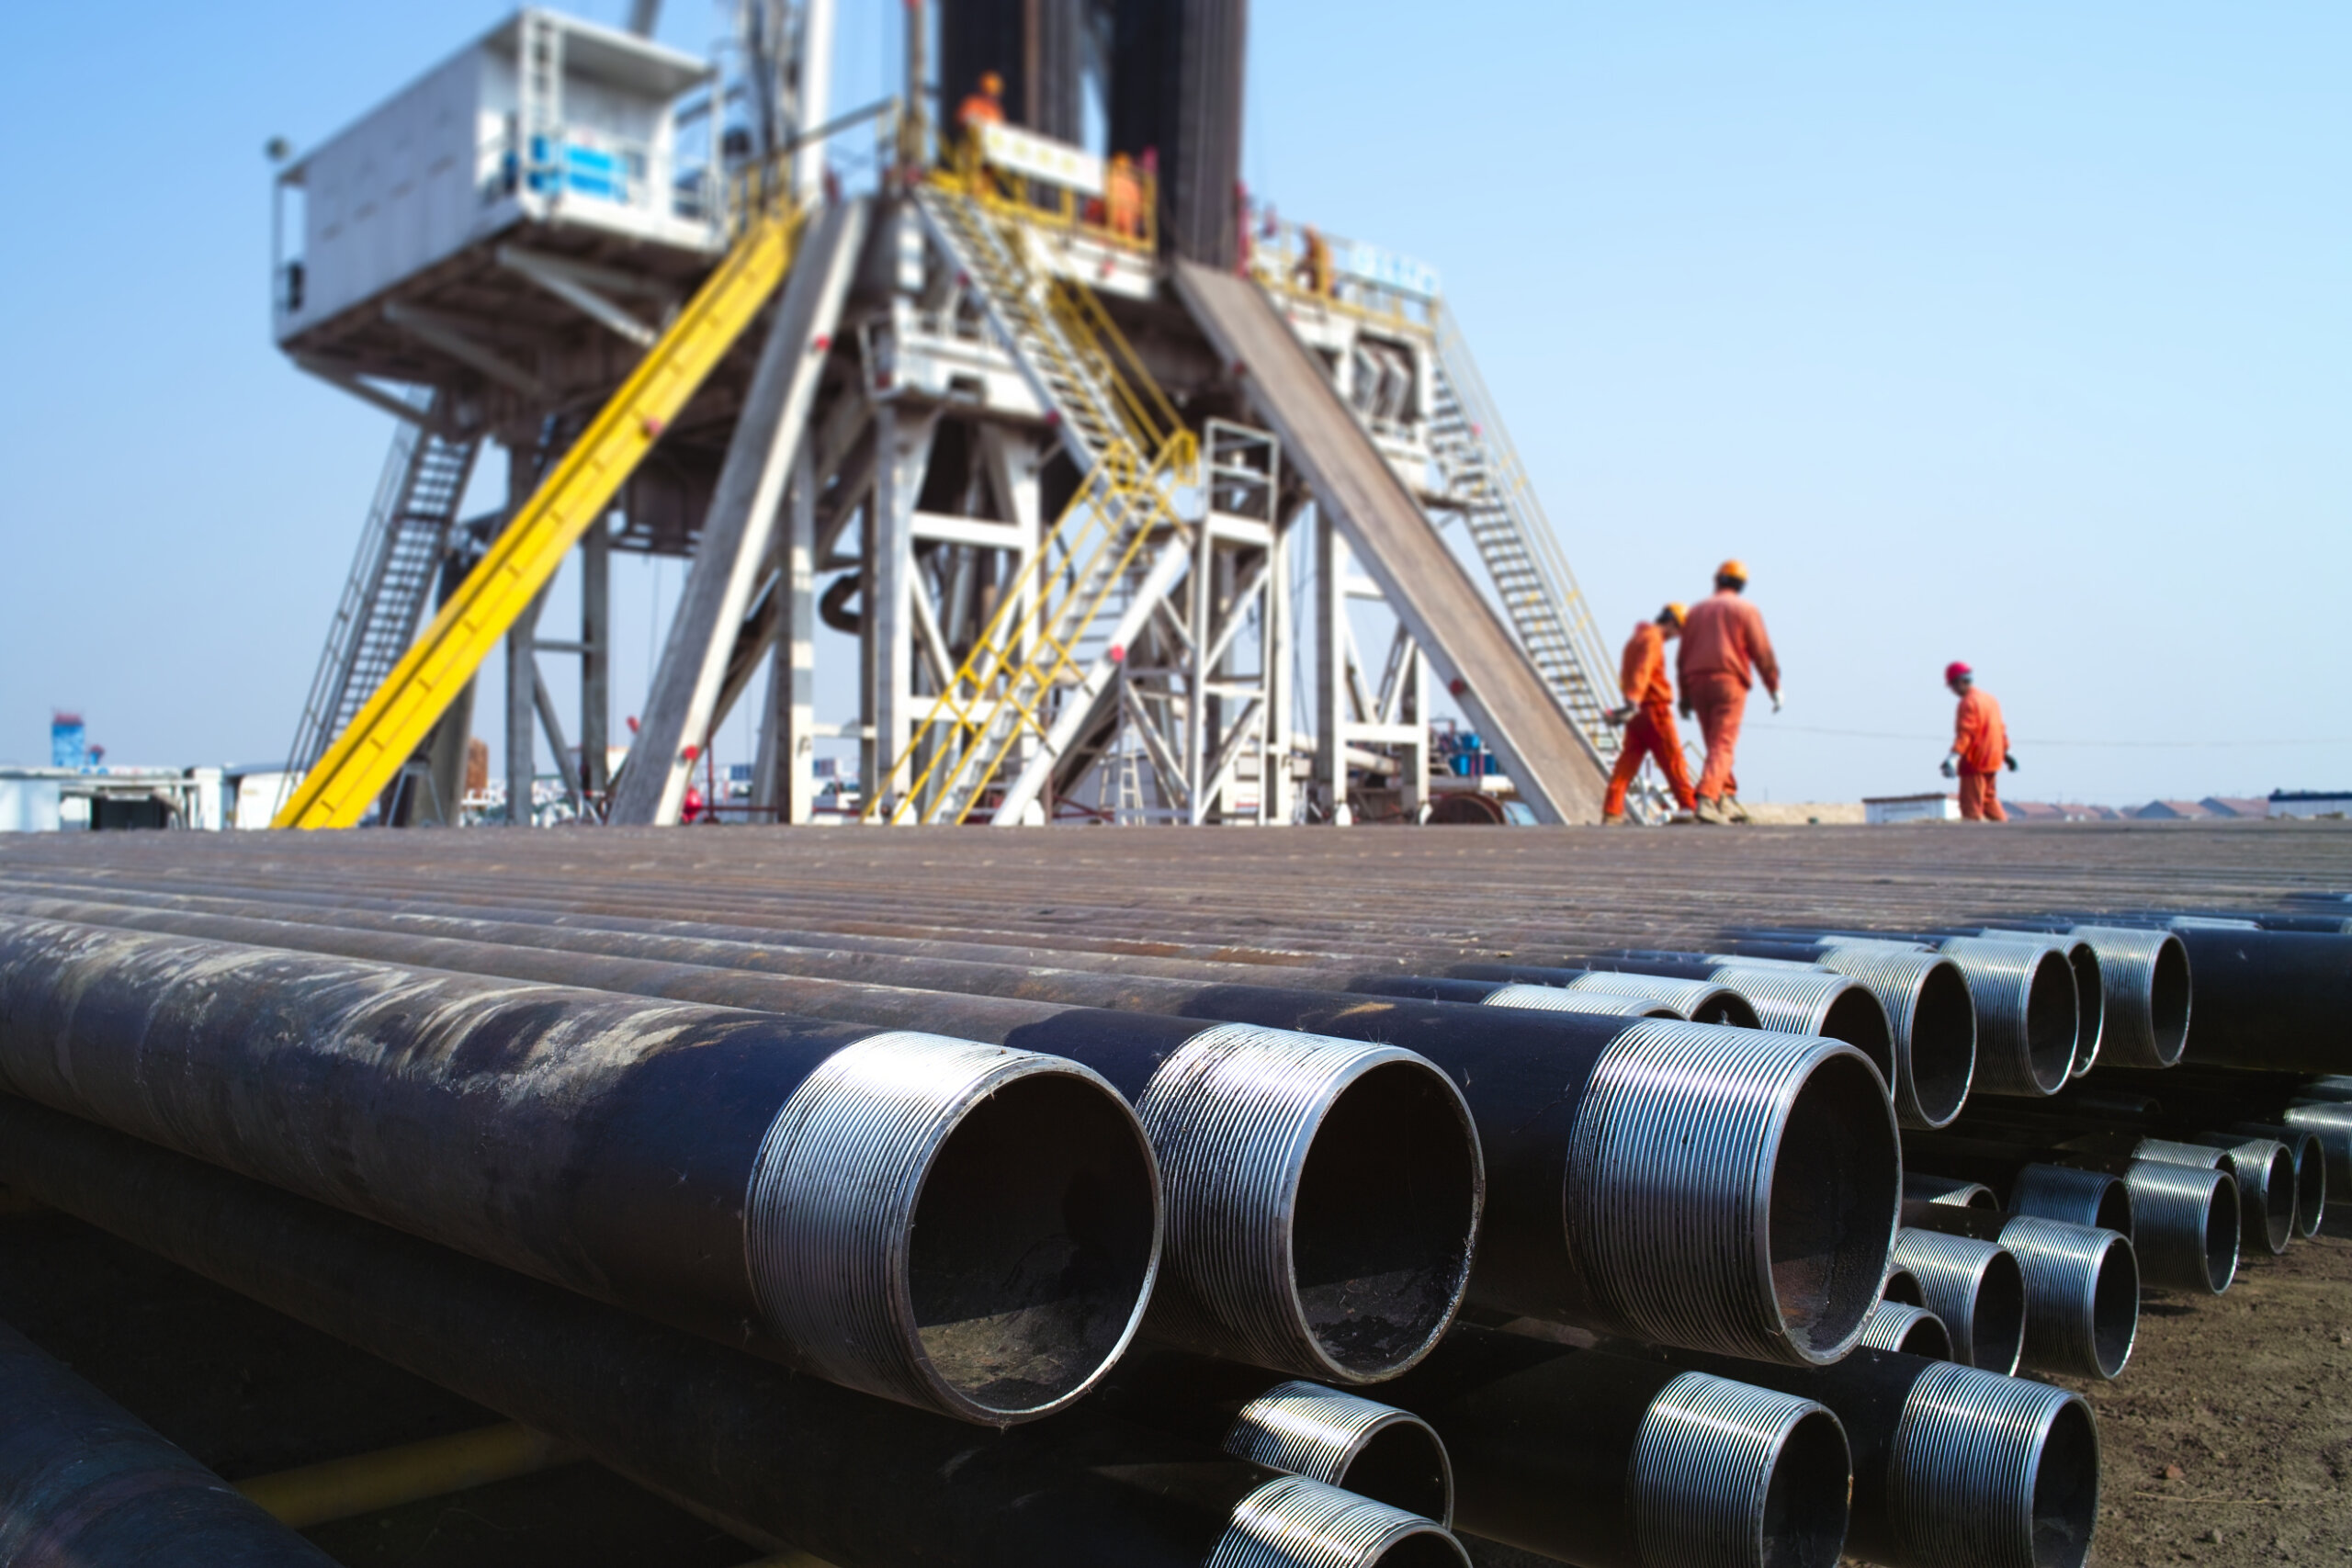
A) NEW/USED DRILL PIPE INSPECTION
Visual Tube
Full length visual examination of the inside and outside surfaces of used tubes
Evaluating Straightness, mechanical or corrosion damage, debris such as scale or drilling mud
OD Gage Tube
Full length mechanical gauging of the outside diameter of used drill pipe tubes
Evaluating Diameter variations caused by excessive wear or mechanical damage, expansions caused by string shot, reductions caused by over pull.
UT Wall Thickness
- Wall thickness is measured around one circumference of the drill pipe tube using an ultrasonic thickness gage
- Evaluating Tube wall thickness below the specified acceptance limits, minimum cross-sectional area of the tube.
Electromagnetic – 1 (EMI – I)
- Full length scanning (excluding upsets) of drill pipe tube using the longitudinal field (transverse flaw) buggy type unit
- Evaluating Flaws such as fatigue cracks, corrosion pits, cuts, gouges, and other damage that exceed the specified acceptance limit
Electromagnetic -2 (EMI –II)
Full length scanning (excluding upsets) using a unit (Two function system) with UT Thickness full length field and EMI (transverse flaw), transverse magnetic field EMI, and Hall effect system for measuring wall thickness capabilities
Evaluating Flaws such as fatigue cracks, corrosion pits, cuts, gouges, Reduction of wall thickness, other damage that exceeds the Specified acceptance limits
MPI Slip/Upset
- Examination of the external surface of drill pipe and HWDP upsets and slip areas using the active-field AC yoke dry /wet magnetic particle technique.
- Evaluating Flaws such as fatigue cracks, corrosion pits, cuts, gouges, and other damage that exceed the specified acceptance limits
UT Slip/Upset
- Examination of Drill Pipe and HWDP upsets and slip areas using shear wave ultrasonic equipment.
- Evaluating Flaws such as fatigue cracks, corrosion pits, cuts, gouges, and other damage that exceed the specified acceptance limits.
- Visual Connection
- Visual examination of connections, shoulders, and tool joints and profile check of threads, measurement of box swell
- Evaluating Handling damage, indications of torsional damage, galling, washouts, fins, visibly non-flat shoulders, corrosion, weight/grade markings on tool joint and pin flat.
- Dimensional – 1
- Measurement or Go-No-Go gauging of box OD, pin ID, shoulder width, and tong space
- Evaluating torsional capacity of Pin and Box, torsional matching of tool joint and tube, adequate shoulder to support makeup stresses, adequate gripping space for tongs
- Dimensional – 2
- Dimensional – 1 requirement plus measurement or Go-No-Go gauging of pin lead, counterbore depth, box counterbore, pin flat length, bevel diameter, seal width and shoulder flatness
- Evaluating Same as dimensional – 1, plus evidence of torsional damage, potential box thread engagement with pin flat, excessive shoulder width, sufficient seal area to avoid galling, non-flat shoulders.
- Black light Connection
- Fluorescent wet magnetic particle inspection using active DC current.
- Evaluating Fatigue Crack
B) STRAIGHTENING OF TUBULAR
Straightening unit is used to straighten the bent pipes up to the tolerance limit of standard
C) BOTTOM HOLE ASSEMBLY INSPECTION
- Elevator Groove
- Measurement of elevator groove dimensions such as collar OD, groove length, depth, and visual inspection of groove shoulder.
- Evaluating Out-of-tolerance dimensions which could result in inadequate gripping of the collar, or rounded shoulders which could overstress the elevators.
- Visual Connection
- Visual examination of connections, shoulders, and tool joints and profile check of threads, measurement of box swell.
- Evaluating Handling damage, indications of torsional damage, galling, washouts, fins, visibly non-flat shoulders, corrosion, weight/grade markings on tool joint and pin flat.
- Dimensional – 3
- Measurement or Go-No-Go gauging of box OD, pin ID, pin lead, bevel diameter, pin stress relief diameter and width, bore back cylinder diameter and thread length and HWDP center upset diameter.
- Evaluating torsional capacity of HWDP pin and box, drill collar BSR, evidence of torsional damage, excessive shoulder width, proper dimensions on stress relief features to reduce connection bending stresses, wear on HWDP center upset.
D) VARIOUS DRILLING TOOLS INSPECTION
- Shop Inspection of Hole Openers, Under reamer, Roller Reamers, Drilling Jars & MWD/LWD/ Motors
- Inspection of connections and MPI on external Body.
- Evaluating Fatigue cracks, connection condition.
- Stabilizer Inspection
- Black light and dimensional inspection of connections, welds and body.
- Evaluating Fatigue cracks, connection condition, gage, neck length, weld cracks.
- Kelly Inspection
- Inspection of connections and body.
- Evaluating Fatigue cracks, connection condition, wear patterns, straightness.
- Sub Inspection
- Black light and dimensional inspection of connections and body
- Evaluating Fatigue cracks, connection condition, Length, neck length, ID, other dimensions
- Shop Inspection of Safety Valves, Kelly Valves & IBOP’s
- Inspection of connections and internal parts
- Evaluating Fatigue cracks, connection condition, condition of internal parts & seals, dimensions, function, sealing.
- Field Inspection of Specialty Tools
- Inspection of end connections & outer case only
- Evaluating Fatigue cracks, connection condition, condition of internal parts & seals, dimensions, function, sealing
- Shop Inspection of Fishing Tools
- Inspection of connections, welds, internal parts and body
- Evaluating Fatigue cracks on connections and outer case only, Dimensions on connections.
E) DYE PENETRANT INSPECTION OF NMDC AND CHROME PARTS
- Liquid Penetrant inspection of connections and other surfaces of non- magnetic drill collars
- Evaluating Fatigue cracks.
F) SHOULDER RE-FACING
Shoulder Re-facing is a manual repair capability at rig site to eliminate the Minor defects on the tool joint seal. This kind of repair is a reliable method reduces time taken to repair pipes at machine shop.
G) TUBING AND CASING SERVICES.
According to API 5CT&5C….etc.


